Config
Unzipped the archive with the dataset
Download the archive file from the link you have received by email.
The .tar file is an archive. It means it’s a folder which has been compressed and grouped in one file lighter which is easy to share.
To extract the archive you can use the tar command. I won’t go in detail about that command, just -x is for open, -v for verbose (more stuff print on your screen), -z for unzipped as it is compressed with gzip (.gz extension) and -f FILE to give the archive file to work with.
tar -xvzf genomics_supbiotech_2023.tar.gz
cd genomics_supbiotech_2023
ls
Congratulations you have the data !
Install minimamba
# Linux Intel (x86_64):
curl -Ls https://micro.mamba.pm/api/micromamba/linux-64/latest | tar -xvj bin/micromamba
# Linux ARM64:
curl -Ls https://micro.mamba.pm/api/micromamba/linux-aarch64/latest | tar -xvj bin/micromamba
# Linux Power:
curl -Ls https://micro.mamba.pm/api/micromamba/linux-ppc64le/latest | tar -xvj bin/micromamba
# macOS Intel (x86_64):
curl -Ls https://micro.mamba.pm/api/micromamba/osx-64/latest | tar -xvj bin/micromamba
# macOS Silicon/M1 (ARM64):
curl -Ls https://micro.mamba.pm/api/micromamba/osx-arm64/latest | tar -xvj bin/micromamba
# Linux/bash:
./bin/micromamba shell init -s bash -p ~/micromamba  # this writes to your .bashrc file
# sourcing the bashrc file incorporates the changes into the running session.
# better yet, restart your terminal!
source ~/.bashrc

# macOS/zsh:
./micromamba shell init -s zsh -p ~/micromamba
source ~/.zshrc
Install your conda environnement
- Run the initializer to add
condaas a command (Openning a new terminal would have done the job too) - Go in the genomics_supbiotech_2023 folder
- Get the
yamlenvironment file from thegithubrepository - Install the conda environment
cd genomics_supbiotech_2023
wget https://github.com/ABignaud/Genomics_SupBioTech_2023/raw/main/genomics.yaml
mamba env create -f genomics.yaml
mamba activate genomics
Install IGV
For the Session 2, Integrative Genomics Viewer (IGV) will be needed. To install it go to the following page to download the executable according to your system and run it:
https://software.broadinstitute.org/software/igv/download
Install docker-desktop
This was a first attempt to have the same environnement but it’s really, really painful to use and not that simple to use so don’t use that. If you still want to use that and very bold and want a painful interface you can play with that, it should work. But in brief: Don’t do try to install it except you have a very good reason !!
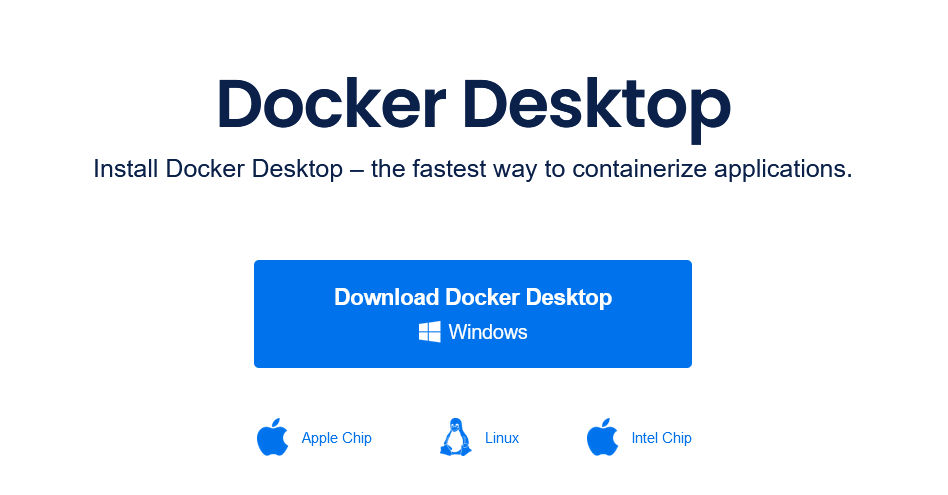
Downloads the executable https://www.docker.com/products/docker-desktop/
To install it on Mac:
https://docs.docker.com/desktop/install/mac-install/
To install it on Windows:
https://docs.docker.com/desktop/install/windows-install/
For Windows, you will probably encounter an issue with WSL at the end of the installation. Here are the instructions to install it:
https://learn.microsoft.com/en-us/windows/wsl/install
To install it on Linux/
https://docs.docker.com/desktop/install/linux-install/
Install the docker image
A docker image is an image of a computer with some software installed on it.
Basically, by pulling and running the image you will locally install that
computer on your computer and all of you will work exactly on the same machine.
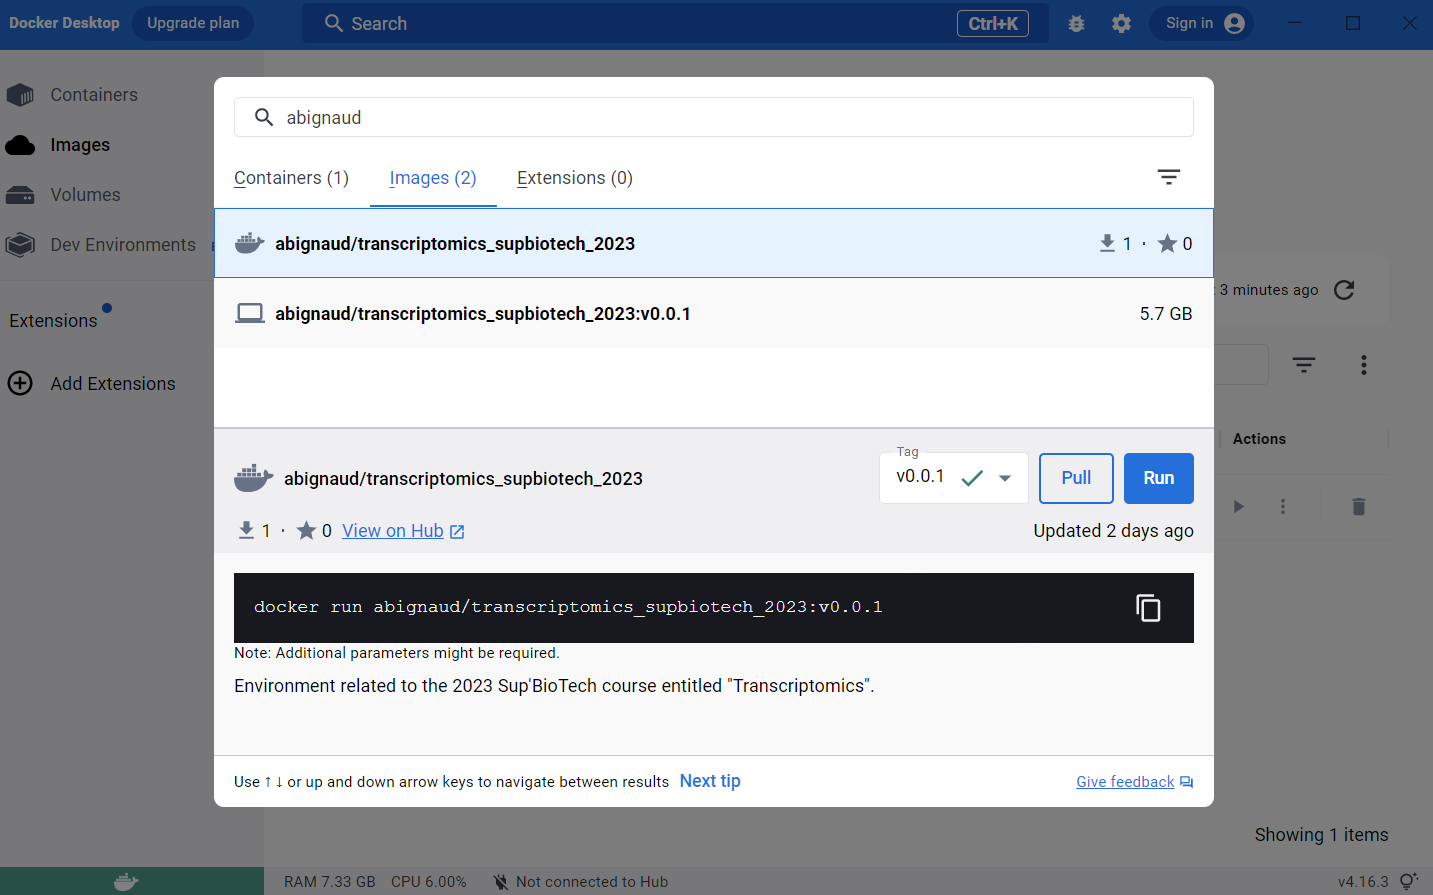
To install go the search bar at the top and search for
abignaud/transcriptomics_supbiotech_2023, search for an image and then pull
it. It will take a little time to download (few GB as there are the whole OS for
the computer). If you don’t find the image, try to search just abignaud or
with only the part of the name.
Run the docker image
Create a directory where you want to store the files for the analysis.
Download the archive file in that directory (the link is in the email you
received).
Then go the image stuff. You should have a new image.
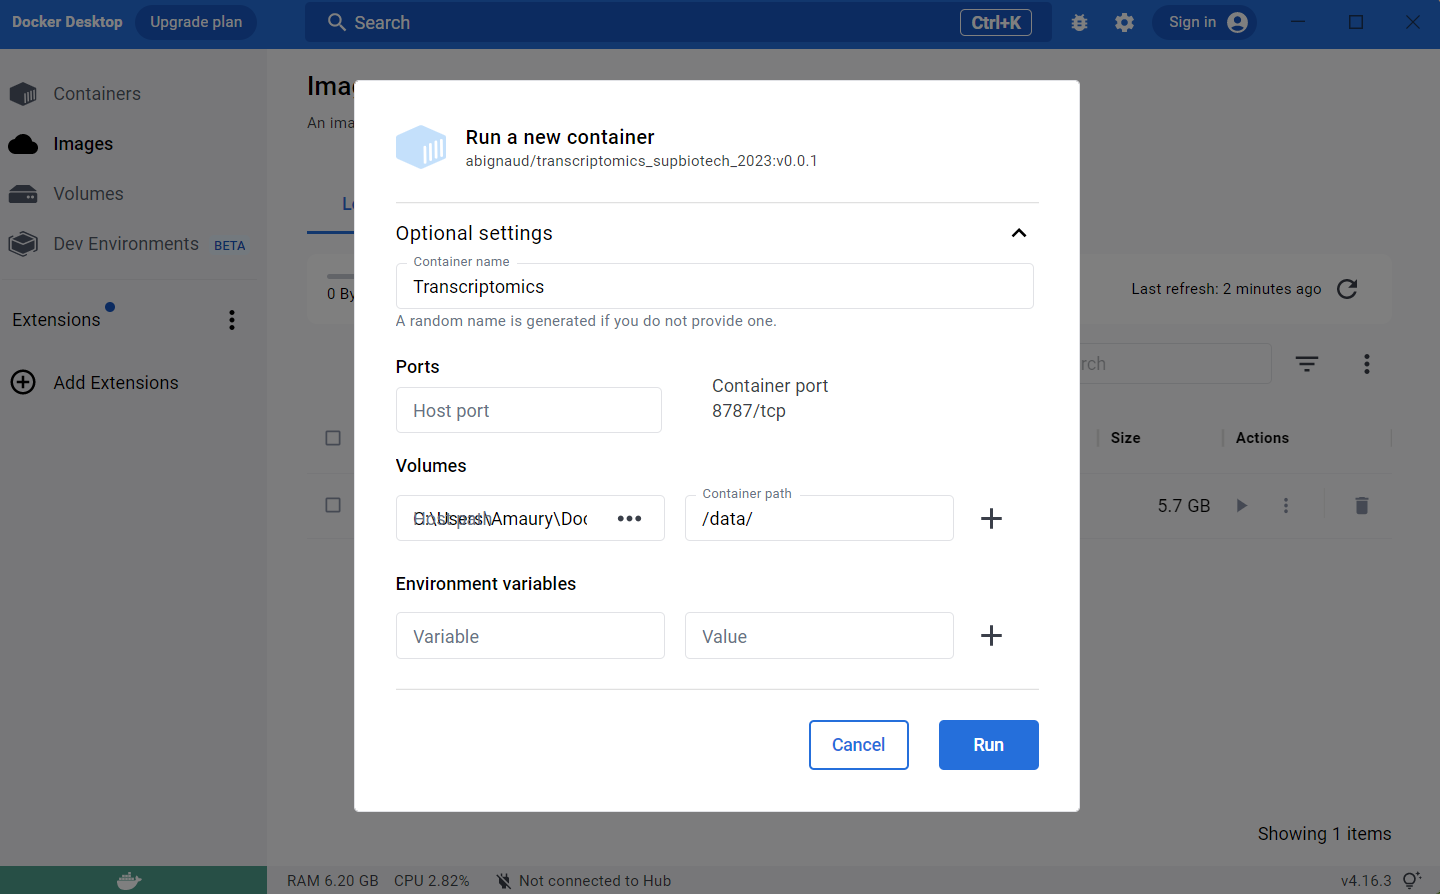
Run it and use the advanced settings:
- Select a name for the container (Transcriptomics_SupBioTech_2023 for example)
- Select the
directoryyou created earlier as a host path - Choose
/data/as container path.
Open terminal
Do not do this part if it’s not working.
Now open the terminal (3rd panel). If you didn’t manage to do that step, it’s ok.
For some reason, it seems that you may have to leave the mounted repository to be able to assess the files in it. To do that enter these commands.
cd ..
cd data
ls
The ls should yield you the list of the files inside your folder. So the
archive that you previously downloaded should be listed. If not, it’s not
working. Check that you have loaded the right folder in the advanced settings
used.
Open the archive file, by entering that command:
tar -xvzf transcriptomics_supbiotech_2023.tar.gz
Congratulations your environment is set up !